So after playing couple of scenarios with Marcin, I introduced another colleague, Konrad to Radetzky March. We plunged into the full scenario immediately – kind of the shock therapy for Konrad, but he is very good and experienced boardgame player, so it was not a problem for him to quickly get grasp of the rules.
We agreed that I will take command of Piedmont who seems less powerful and in general – on defense. Konrad lead the Austrian corpses in their brilliant counter-attack designed by Marchal Radetzky:
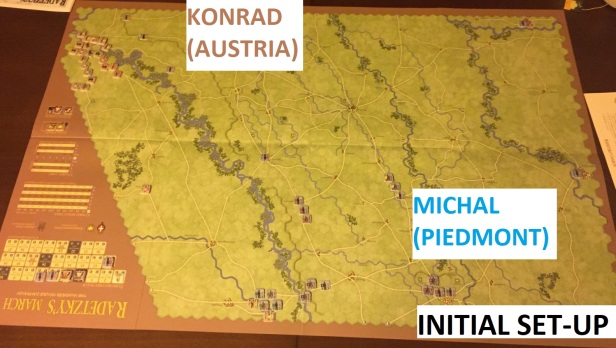
5 Austrian corpses concentrated near Pavia – and they were facing only token forces – elements of 5 Division, whose general, disobeying orders, did not placed theme in right position:
The game is divided in 3 hours turns, with night being played as one turn. Piedmont forces are usually more active in the morning while Austrian – in the afternoons.
First day of the battle is only 3 turns:
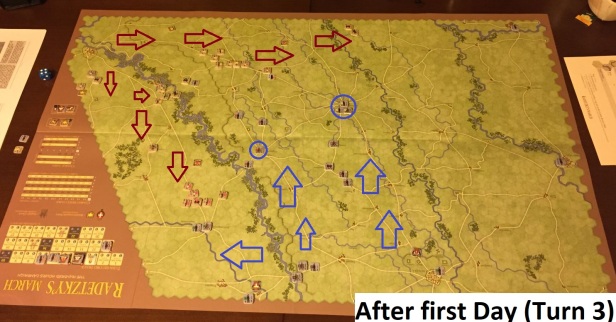
But still, this was interesting time:
- swift progress west of Austrian 2nd and Reserve Corps
- steady move of 1st and 3rd Austrian Corpses North, to cut possible road toward Milan for Piedmont forces
- quick win of my Piedmont 4 Division with elements of 2nd Corps
- And very rapid move of Piedmont Divisions toward two critical cross-roads of Vigevano and Mortara
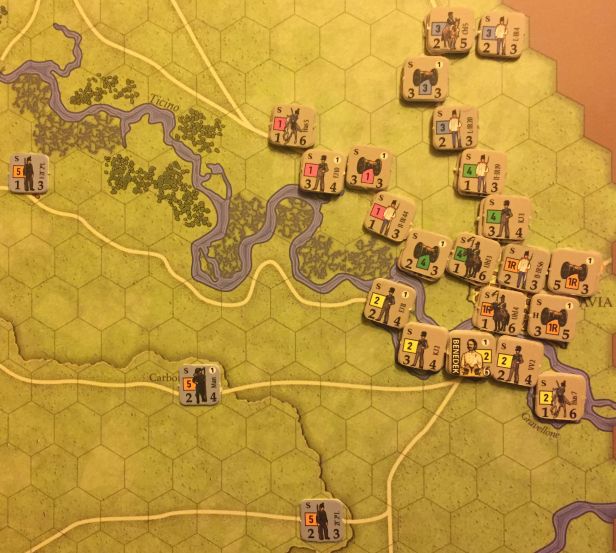
Now, some close-up pictures:
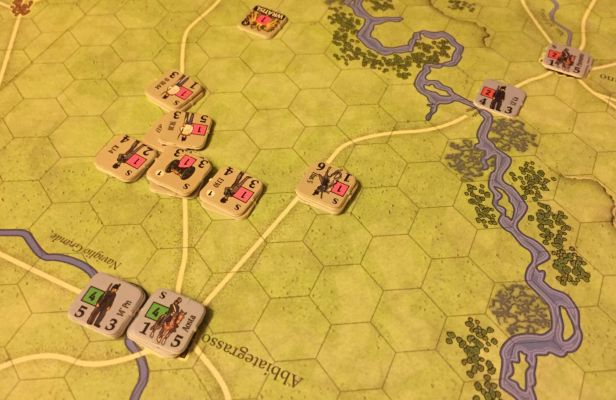
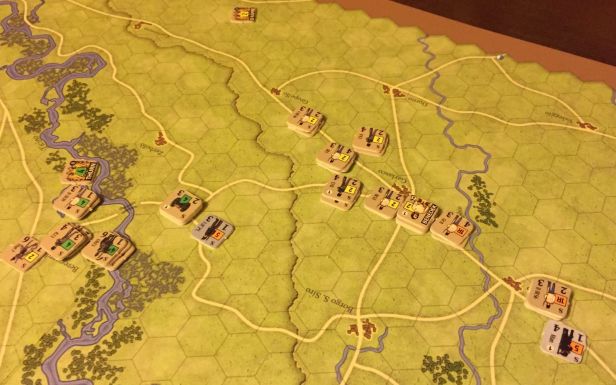
The night and second day saw some interesting developments:
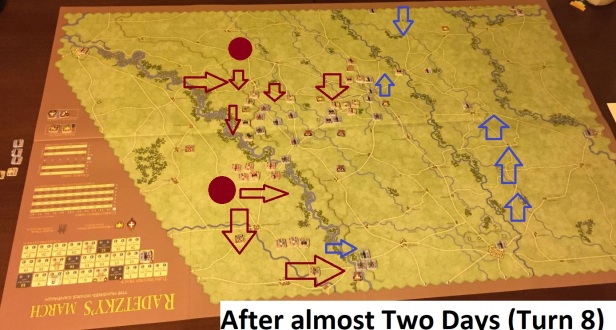
- steady progress of 1st and 3rd Austrian Corps forces my 4th Division to retreat behind Ticino river
- 4th Corps builds bridge near Vigevano and approaches city from the East
- My 5th division (reinforcements) is more of liability then assistance…
- At the end of the day, both critical cross-roads are contested
And now, pictures with some details:
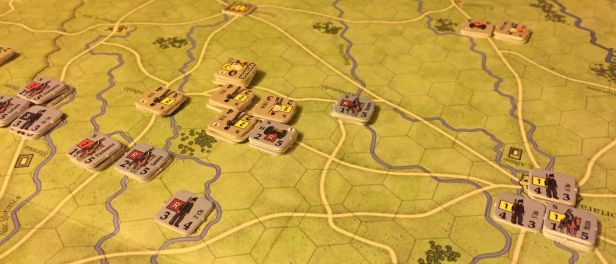
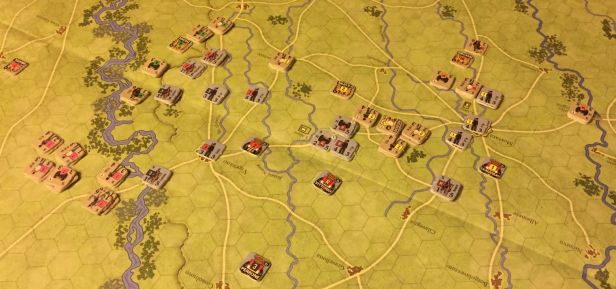
At this moment in time we had to stop our game as it was getting really late. We really enjoyed the scenario – it is not a scripted game, when everybody knows what to do in initial turns. Austrians have very important decisions to make – how many of the five corps to send immediately West and how many to block approach to Milan? Piedmont forces are scarce and not so quick to move so the decision where to build defense is crucial.
It was very interesting and exciting mid-week evening which we will for sure repeat some tome soon!

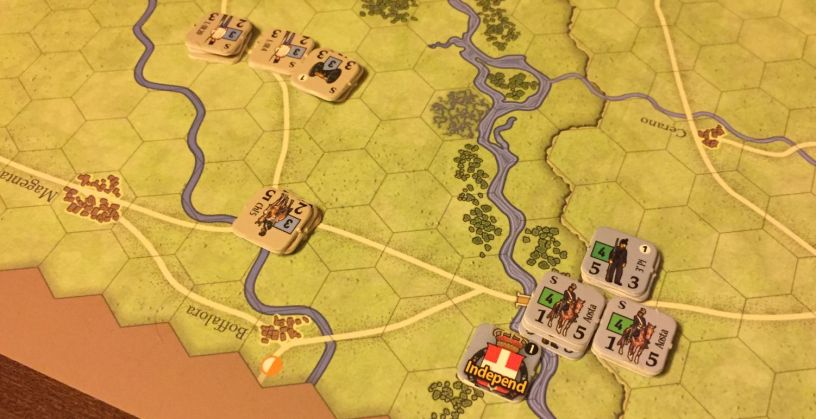
The encounter was very interesting. I liked the game a lot. It is oryginal in several aspects and quite simple in rules.
Nice concepts on first glance are activation, supply and fight as a whole.
I did not like reinforcements for Piedmont (they were poorly placed) and fact that Austria seems to be much stronger.
I will play another play with Michał with a great pleasure! If he propose. 😉
LikeLike
How long does it take in your opinion a full scenario game?
LikeLike
Hello,
Well, just yesterday I had opportunity to play again. It took us 3 hours to play 8 turns – of course, not each turn is the same length (sum has 3 corps/divisions activation, some 9). However, it is pretty easy to “save” the game status as all information is public and you can do photos of the game status.
LikeLike