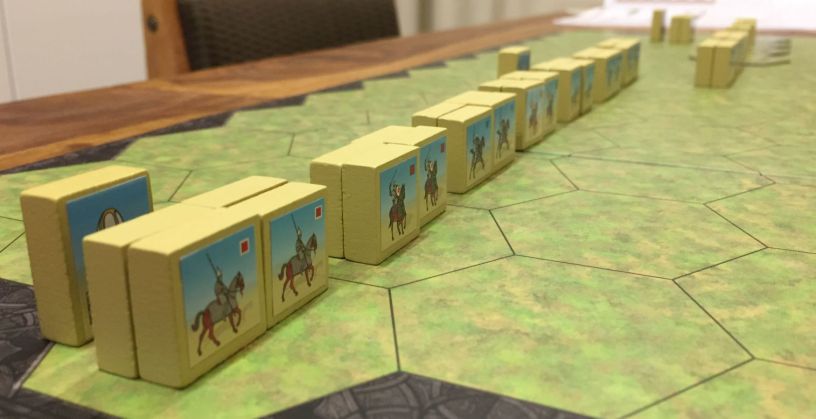
The Game
When almost three years ago monthly GMT Update brought the news that a new installment of Commands & Colors (C&C) system is in works I was thrilled. Being ardent supporter and enthusiastic player of C&C Ancients I had high hopes for its natural successor – C&C Medieval. Even more convincing was the fact that the base game will focus on events directly after the Fall of The Rome – including some retrospective battles with Huns from time when Western Empire still existed (three initial scenarios).
Once my copy of the game arrived I created – as always for my favorite games – the unboxing movie and then started to plan the actual sessions as soon as possible. Below what came of it.
The Campaign
Count Belisarius is probably most recognizable general of the early Byzantine period – not surprising, as in combination with emperor Justinian, they managed not only to ensure survival of Eastern Empire, but managed to re-conquer large swaths of Western empire. In below series of articles I would like to familiarize you with that famous person by playing the C&C Medieval scenarios from Base Game featuring this general. For now, only encounters with Sassanid Empire but hopefully in the future also other fronts!
Belisarius Campaign:
Thannuris (528 SD) => Melebasa (528 AD) => Dara (530 AD) => Satala (530 AD) => Callinicum (531 AD) Part 1
The Scenario – 004 Thannuris – 528 AD
Even the greatest generals sometimes had a tough start – such was with Belisarius at Thannuris. That battle occurred din 528 AD and was part of the so called Iberian War (do not confuse with Spain!), a conflict raging between Byzantine Empire and Sassanid Empire from 526 AD to 532 AD over the eastern Georgian kingdom of Iberia.
The Romans troops were dispatched from great Roman fortress of Dara to oversee construction of the fort near Thannuris. The Sassanids learned about the plans and sent their army to prevent this. Belisarius forces were enhanced with allies led by Bouzes and Coutzes. Unfortunately, when battle started the allied troops were impatient and attacked without orders, allowing The Sassanids to rout them and then focus on main Roman army.
The end of the battle was disastrous for the Roman army – while Belisarius managed to escape, Coutzes and his brother were killed and the Sassanids destroyed the fort buildings. Still, despite their victory, Persians suffered very heavy losses which of course did not pleased his king.
GAME 1
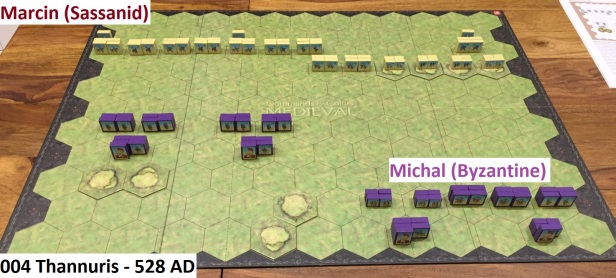
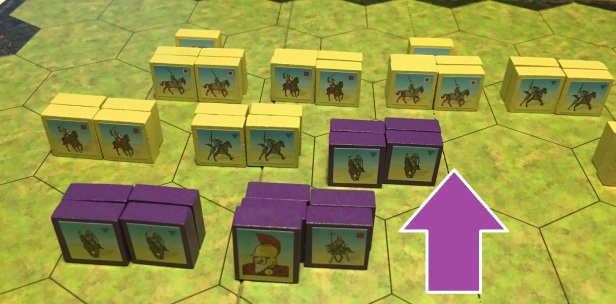
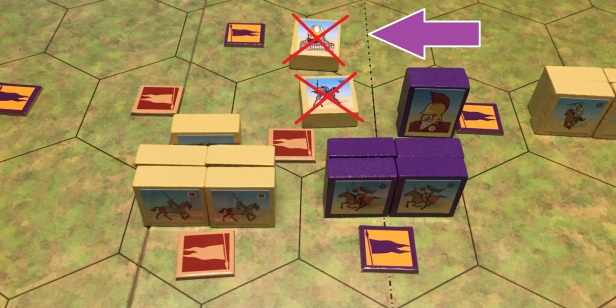

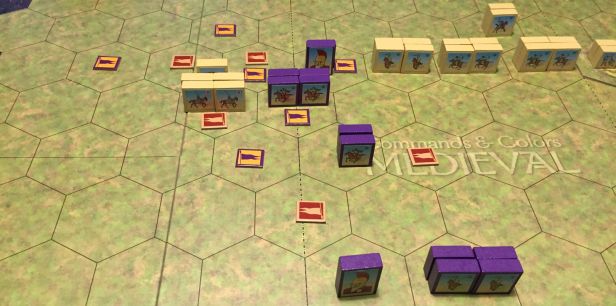
In our first game we were still learning specific CCM rules, being probably too much under CCA influence and forgetting Parthian Shot as well as ability of all the units to conduct ranged combat. Still, we had a great fun and bloody, exciting battle we will remember for long!
GAME 2
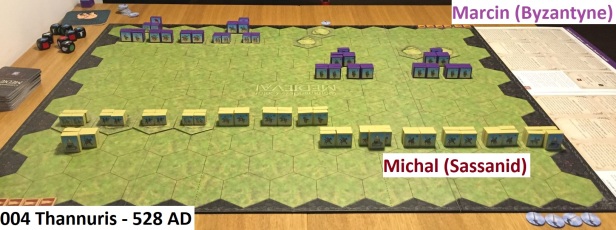
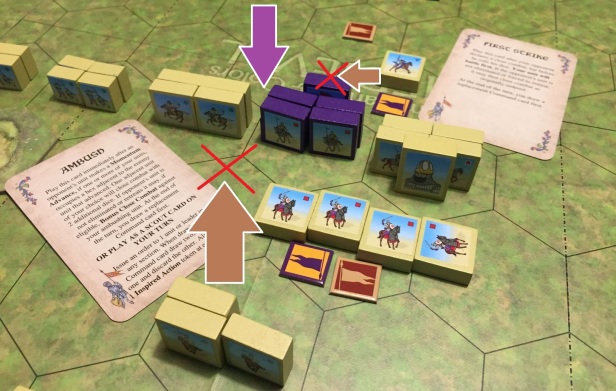
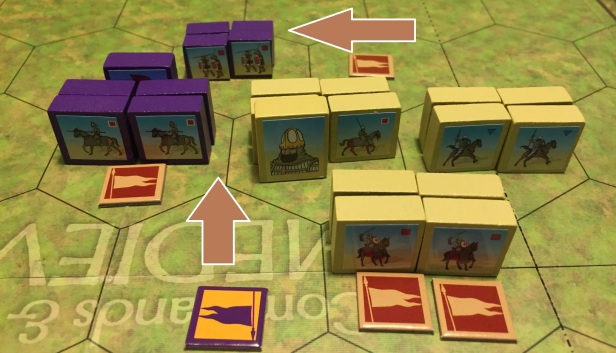
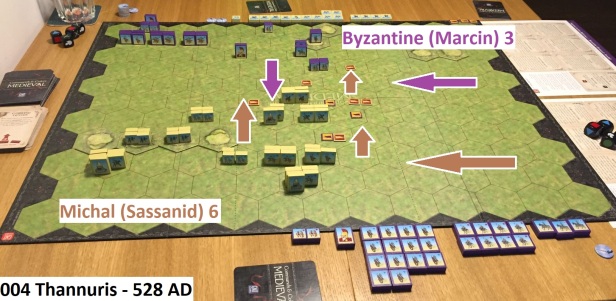
This time – at least as far as we can tell – we played all the rules correctly.
On more general front, still, after two game it is too early to formulate firm conclusions, but somethings are obvious:
- Cavalry is much, much more durable
- Inspired Leadership Tokens are key in the game – not for Inspired Actions (big scale operations) but for those small Battlefield Actions. Especially Bravery – you got enemy cavalry pinned down and count for a flag result. Surprise! Enemy play Bravery, ignores one flag and battles back!
- It is much easier to get into fighting distance
We will continue with Belisarius campaign; also, I am curious to see how “Roman” scenarios (first three) with significant amount of infantry plays with those new rules…

